Nothing beats the feeling of creating something. But when you can make tools and then use those tools to make other things….whoa!
I was given some homemade steel bars with carbide cutters from a friend. You could make them out of 1/2” stock and buy the carbide tips, or many websites offer just the hardware pre-assembled and handle-ready.
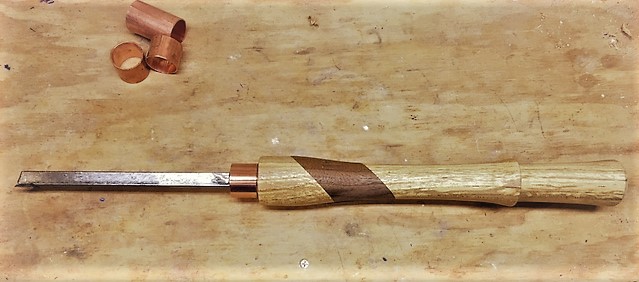
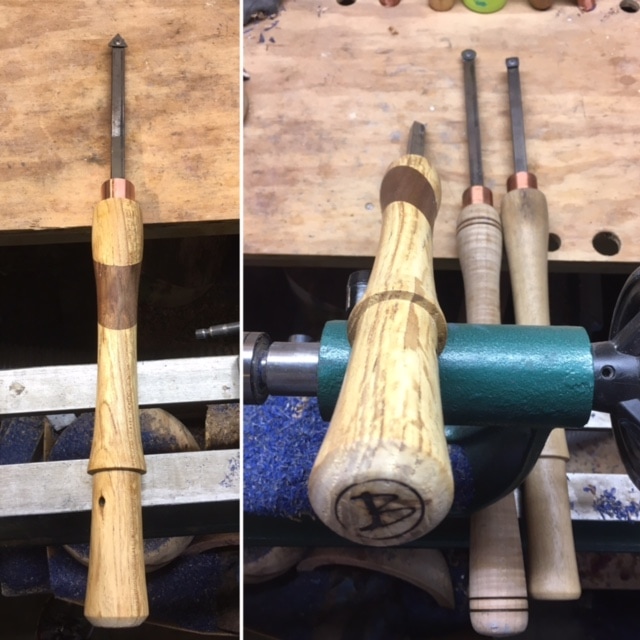
Either way, this “how-to” will show how I made a homemade carbide cutter lathe tool handle out of spalted elm and walnut. Enjoy!
Step 1:
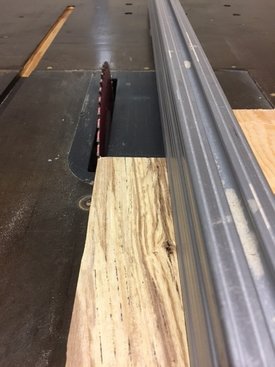
Cut two blanks to the same size at the table saw (you could use a bandsaw as well). You can use any type of wood (harder species are better). I used some beautiful spalted elm and black walnut from a friend. You can just as easily use one type of wood and skip step 2. I made one out of poplar but wanted the contrasting look of a dark and light wood together. I cut both the spalted elm and the black walnut to 3” square. I cut the elm to 19” long and the walnut to 6”. You can use whatever you have.
Cut two blanks to the same size at the table saw (you could use a bandsaw as well). You can use any type of wood (harder species are better). I used some beautiful spalted elm and black walnut from a friend. You can just as easily use one type of wood and skip step 2. I made one out of poplar but wanted the contrasting look of a dark and light wood together. I cut both the spalted elm and the black walnut to 3” square. I cut the elm to 19” long and the walnut to 6”. You can use whatever you have.
Step 2:
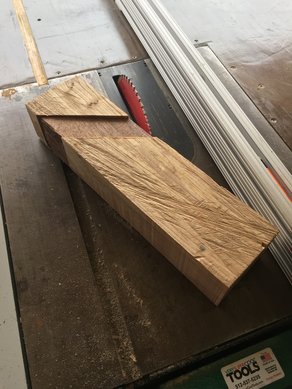
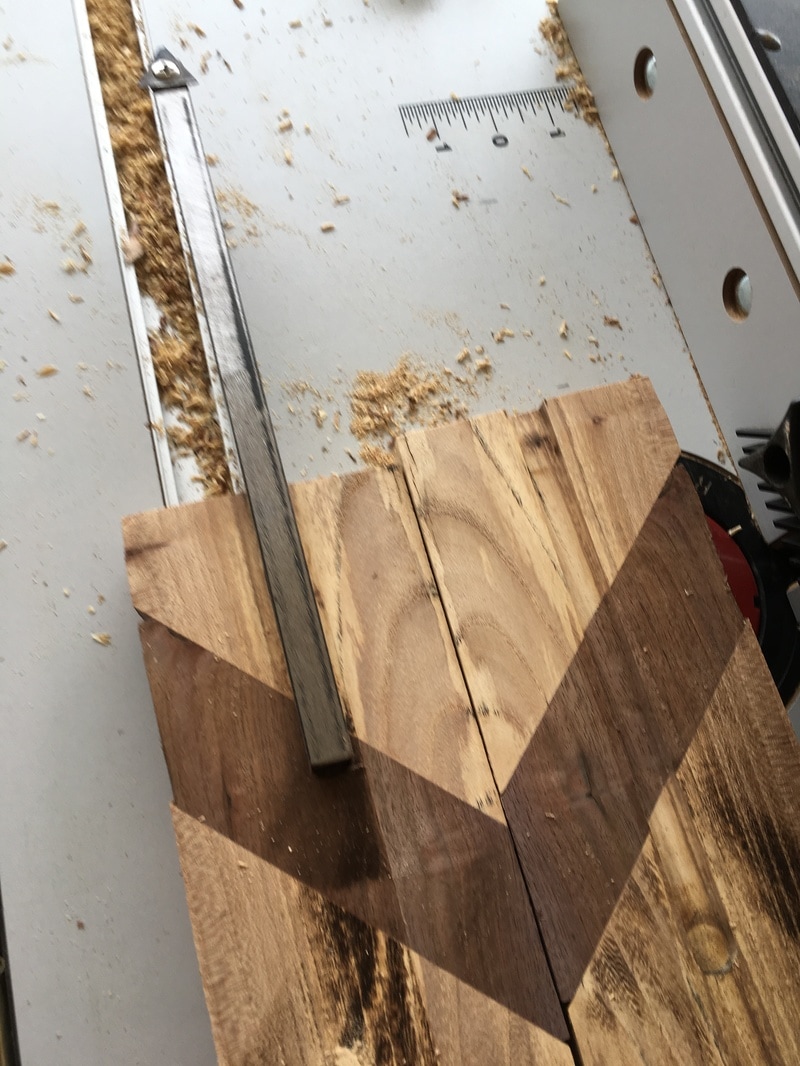
Cut the blanks on an angle. I used my miter saw and set it at a 45 deg angle. This was my first time so I guessed on the angle. Looking back, I think a larger angle might have looked better in the handle. I lost some of the length to the 45 cut, so make sure you keep that in mind when you cut the two pieces.
Cut the blanks on an angle. I used my miter saw and set it at a 45 deg angle. This was my first time so I guessed on the angle. Looking back, I think a larger angle might have looked better in the handle. I lost some of the length to the 45 cut, so make sure you keep that in mind when you cut the two pieces.
Step 3:
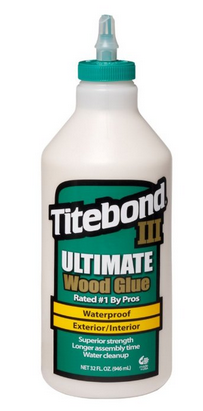
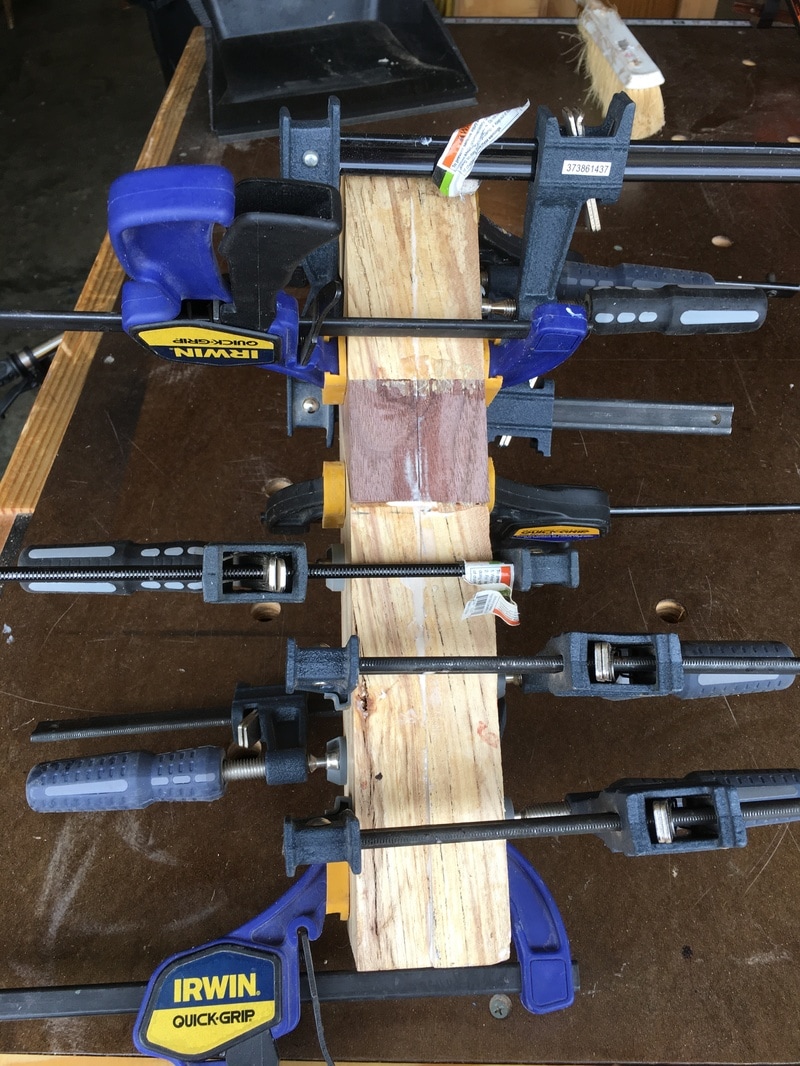
Glue up the blank. This was the most challenging part. I had to get creative with side blocks and my
clamps. Just make sure that you get it nice and tight. I had some “slippage” that I had to trim out at the table saw.
Glue up the blank. This was the most challenging part. I had to get creative with side blocks and my
clamps. Just make sure that you get it nice and tight. I had some “slippage” that I had to trim out at the table saw.
Step 4:
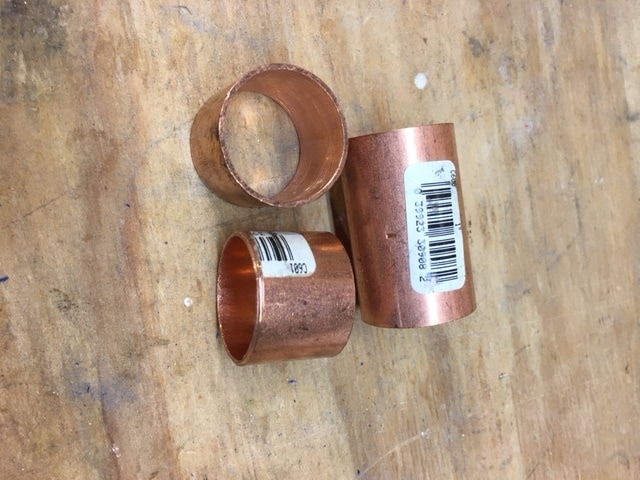
Cut your copper fittings to size. I bought a 2” long, 1” copper coupling and cut it into two 1” ferrules. You can use a dremel tool, hacksaw, or whatever you got. I used a hacksaw and then filed the sharp edges down a little.
Cut your copper fittings to size. I bought a 2” long, 1” copper coupling and cut it into two 1” ferrules. You can use a dremel tool, hacksaw, or whatever you got. I used a hacksaw and then filed the sharp edges down a little.
Step 5:
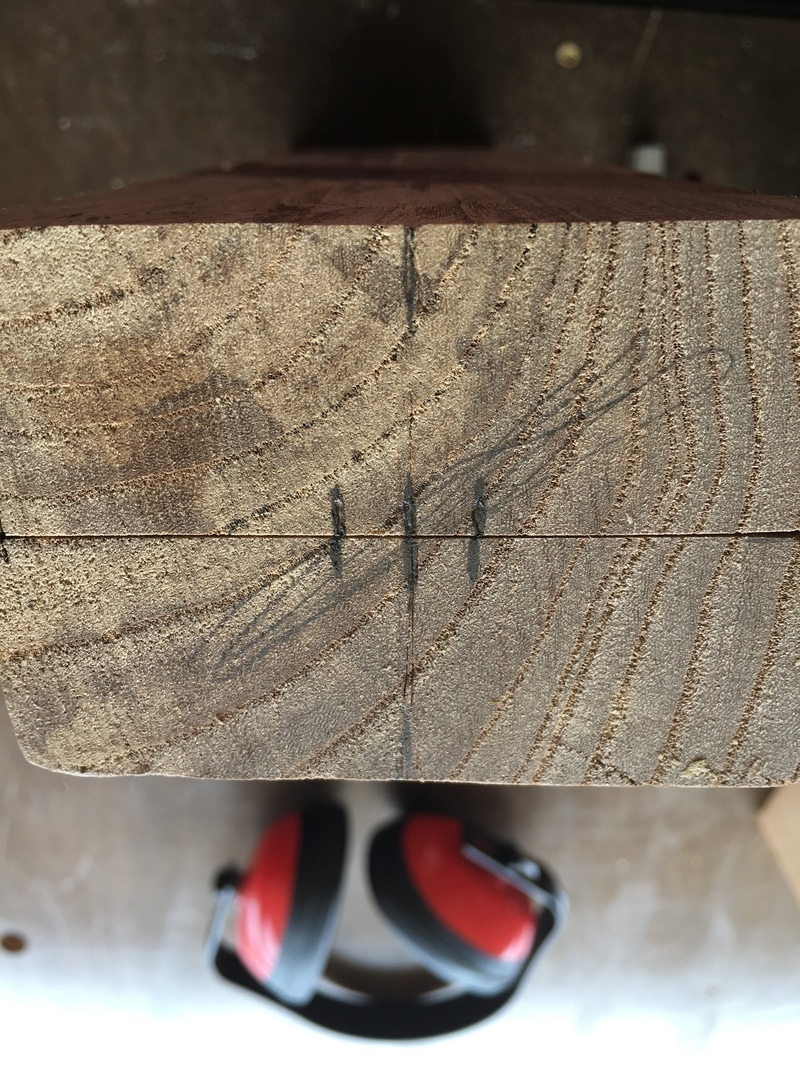
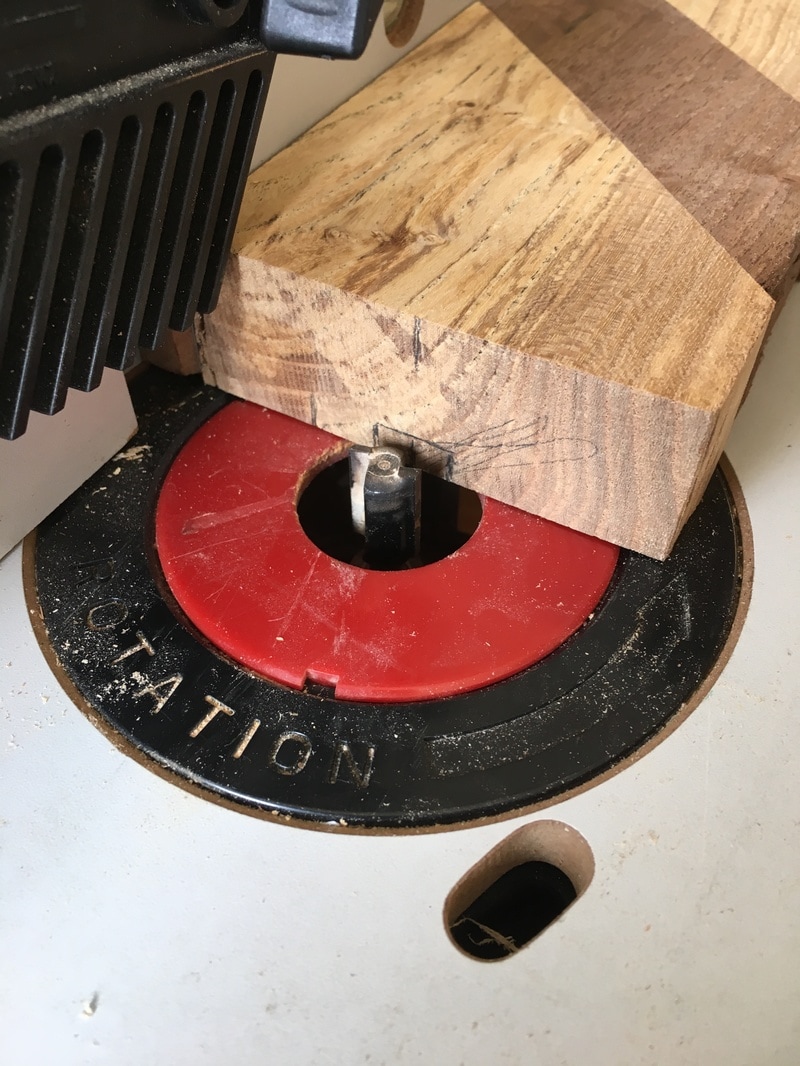
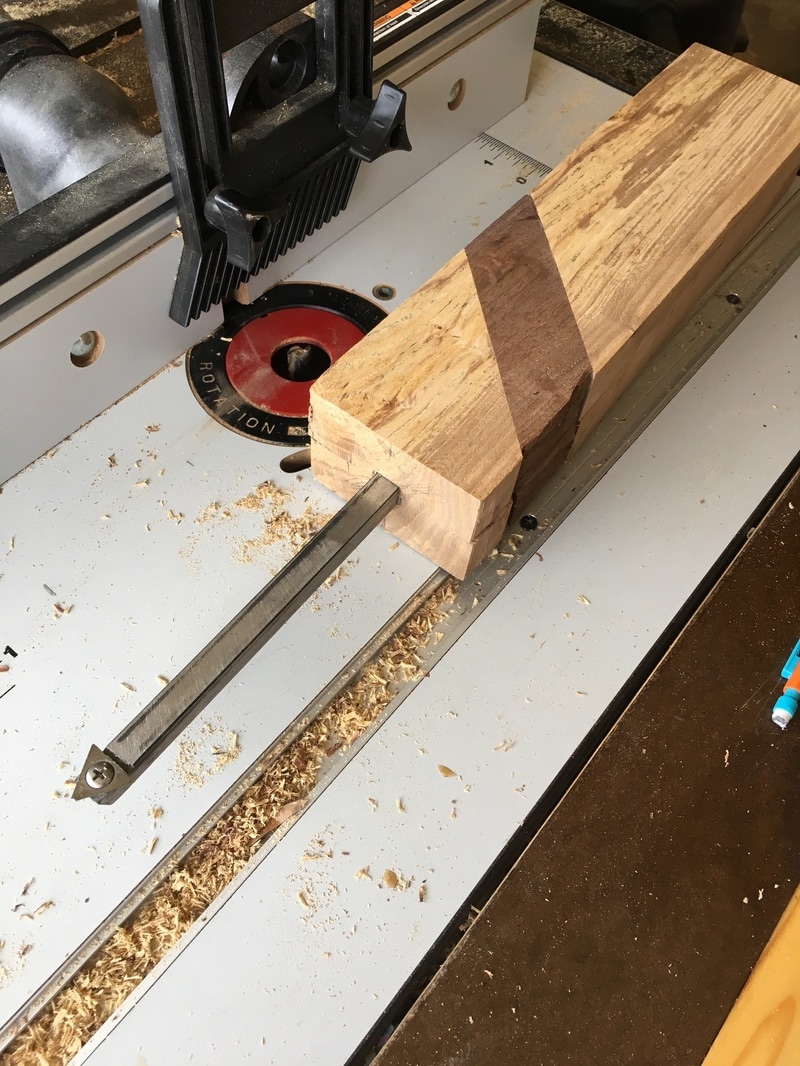
Once the blank has dried, cut the blank in half. I was using 1/2” steel stock so I found the center and marked out 1/8” to either side. With the blank marked, I used a 1/2” straight flute bit on my router table to remove a channel that would accept the tool. Only remove to the depth you want the tool to be seated (so you don’t have an empty cavity for the epoxy to gravitate towards). The stock I had was 10” in length. I went 3” into the handle and that left 7” for the final bar length. There is some science behind bar length vs. handle length but I did not dig into the research…just went for it.
Once the blank has dried, cut the blank in half. I was using 1/2” steel stock so I found the center and marked out 1/8” to either side. With the blank marked, I used a 1/2” straight flute bit on my router table to remove a channel that would accept the tool. Only remove to the depth you want the tool to be seated (so you don’t have an empty cavity for the epoxy to gravitate towards). The stock I had was 10” in length. I went 3” into the handle and that left 7” for the final bar length. There is some science behind bar length vs. handle length but I did not dig into the research…just went for it.
Step 6:
Assemble the final blank. Place the bar into the channel you made and put the two pieces together to check the fit. Highly recommend (I forgot on this handle and it caused me a lot of grief) that you sand out the channel to give the bar a smidge of wiggle room when trying to remove it. If it’s a good fit (and you can easily remove it) leave the bar in the blank and glue the two pieces together. Once you have a couple of clamps on the blank remove the bar before it gets stuck. Let it dry overnight.
Assemble the final blank. Place the bar into the channel you made and put the two pieces together to check the fit. Highly recommend (I forgot on this handle and it caused me a lot of grief) that you sand out the channel to give the bar a smidge of wiggle room when trying to remove it. If it’s a good fit (and you can easily remove it) leave the bar in the blank and glue the two pieces together. Once you have a couple of clamps on the blank remove the bar before it gets stuck. Let it dry overnight.
Step 7:
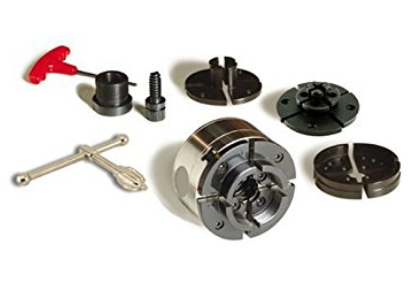
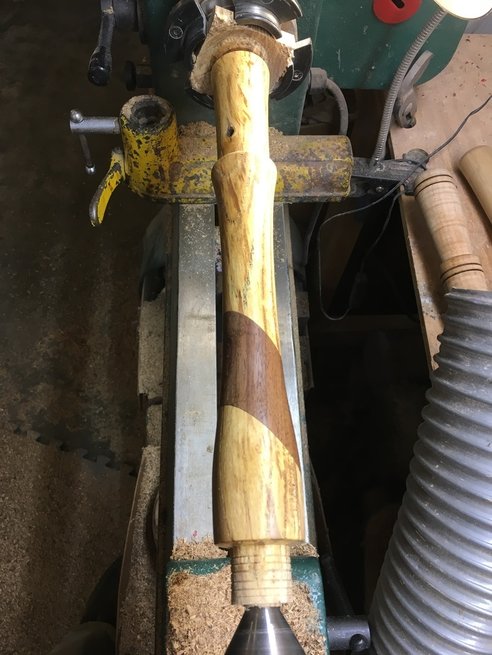
Chuck the blank and turn to round. I used my barracuda chuck and a live center. If you don’t have a chuck, you could just as easy turn it between two centers.
Chuck the blank and turn to round. I used my barracuda chuck and a live center. If you don’t have a chuck, you could just as easy turn it between two centers.
Step 8:
Measure and mark the blank for the tenon that will fit your ferrule. I used a caliper to measure the copper fitting and then a tenon tool to ease up on the dimension. Make sure you ease up on the size, you can always remove more, but you can’t add it back.
Measure and mark the blank for the tenon that will fit your ferrule. I used a caliper to measure the copper fitting and then a tenon tool to ease up on the dimension. Make sure you ease up on the size, you can always remove more, but you can’t add it back.
Step 9:
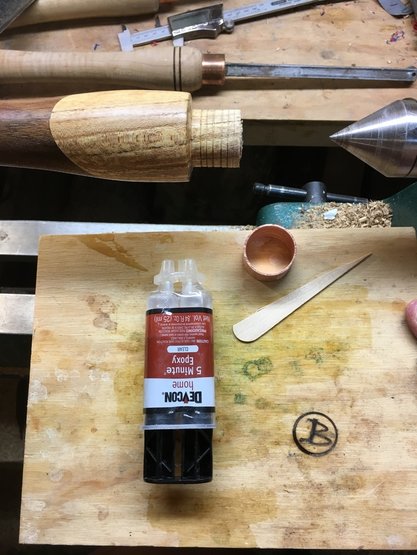
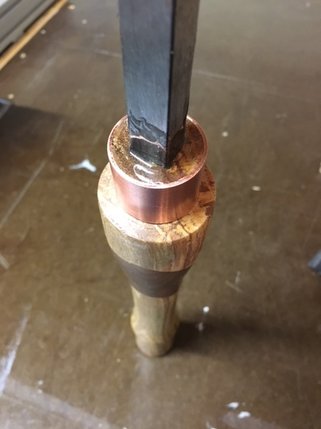
Glue the ferrule onto the tenon. You can see that I turned a couple of rings on the tenon to give the epoxy more surface area to stick to. I also scratched up the inside of the ferrule with 60 grit sandpaper for the same reason. I just used 5 min epoxy and let it dry overnight.
Glue the ferrule onto the tenon. You can see that I turned a couple of rings on the tenon to give the epoxy more surface area to stick to. I also scratched up the inside of the ferrule with 60 grit sandpaper for the same reason. I just used 5 min epoxy and let it dry overnight.
Step 10:
Turn the handle to desired shape. I used another tool handle as a template for the shape of this handle. Otherwise just turn to what feels good in the hand.
Turn the handle to desired shape. I used another tool handle as a template for the shape of this handle. Otherwise just turn to what feels good in the hand.
Step 11:
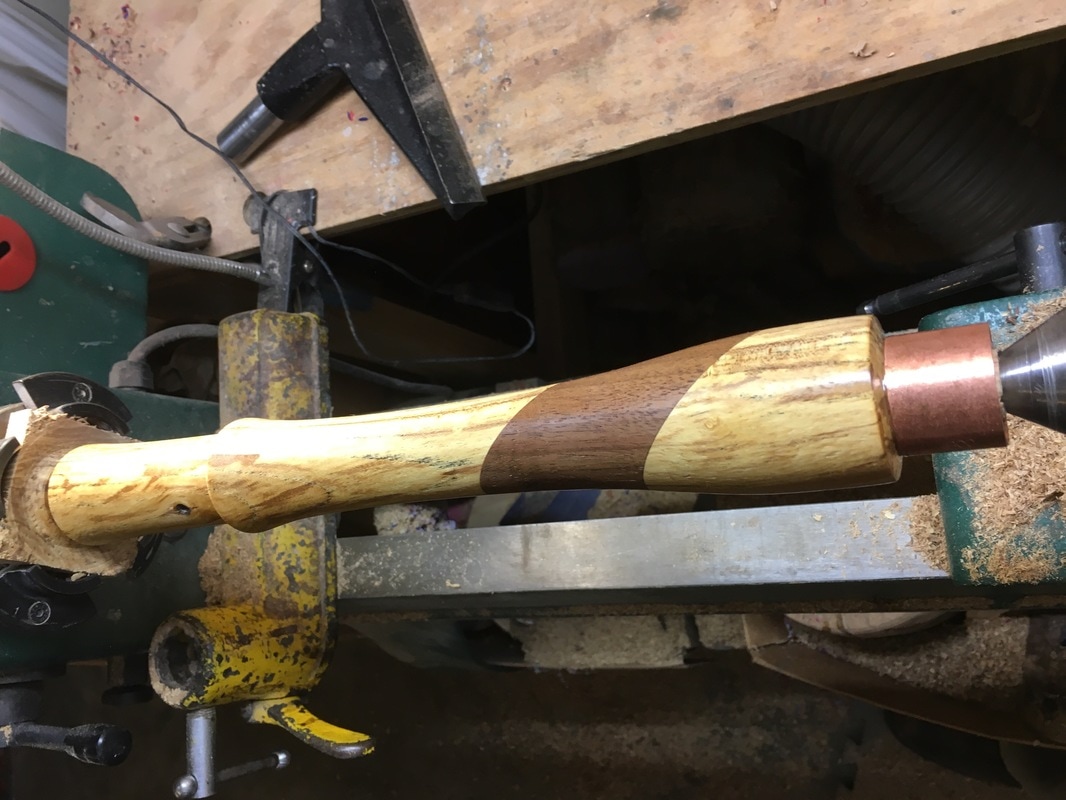
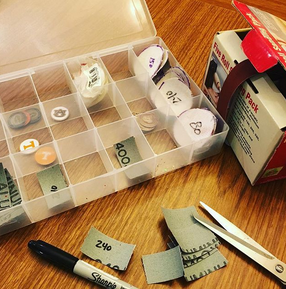
Sand and finish. I started with 150 grit and worked up to 400. I also sand/polish the ferrule (up to 1500 grit) to make it look sharp. I use these sanding strips, cut them to length, and mark them on the back. This saves me frustration when I need to step back a few grits. I finished the piece with Danish Oil. It’s a nice finish because it stains and seals the wood.
Sand and finish. I started with 150 grit and worked up to 400. I also sand/polish the ferrule (up to 1500 grit) to make it look sharp. I use these sanding strips, cut them to length, and mark them on the back. This saves me frustration when I need to step back a few grits. I finished the piece with Danish Oil. It’s a nice finish because it stains and seals the wood.
Step 12:
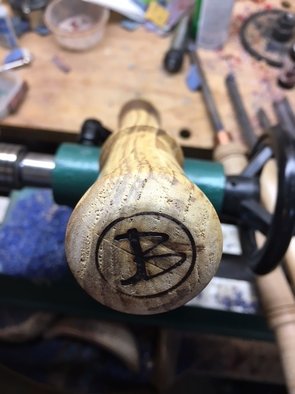
Remove the handle from the lathe and cut the waste off. I used my bandsaw to remove this piece then took it over to the belt sander to make a flat spot for my “JB” brand.
Remove the handle from the lathe and cut the waste off. I used my bandsaw to remove this piece then took it over to the belt sander to make a flat spot for my “JB” brand.
Step 13:
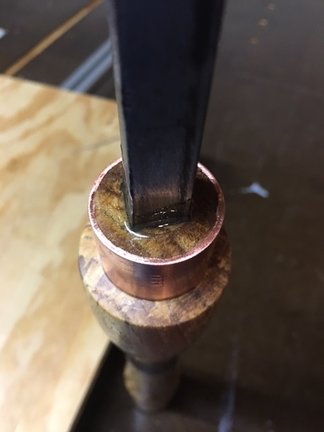
Epoxy the steel bar in the handle. Again, I used 5 min epoxy to do the job. I put some in the hole itself as well as on the bar. Be sure and measure the bar for the depth with painters tape. Then take a mallet and hammer the bar down to the depth of the tape. Let the epoxy dry overnight.
Epoxy the steel bar in the handle. Again, I used 5 min epoxy to do the job. I put some in the hole itself as well as on the bar. Be sure and measure the bar for the depth with painters tape. Then take a mallet and hammer the bar down to the depth of the tape. Let the epoxy dry overnight.
Step 14:
Enjoy your awesome handmade tool and make something else! I get a lot of pleasure out of making stuff, but it’s really cool when you can make tools from scratch.
Enjoy your awesome handmade tool and make something else! I get a lot of pleasure out of making stuff, but it’s really cool when you can make tools from scratch.
Tools I used in this project:
--Table saw or bandsaw
--Miter saw
--Lathe and turning tools
--Lathe chuck or drive centers
--Tape measure
--Router and router table
--1/2” straight flute router bit
--2” long 1” copper coupling (cut in half)
--Hacksaw and file
--Caliper
--Woodglue
--5 min Epoxy
--Sandpaper
--Danish Oil
Thanks for reading. If you have any questions about this project, please let me know. If you want to stay up to date on my projects, blog and latest offerings, please subscribe to my email listing to the right.
Take care and God Bless,
Jb


 RSS Feed
