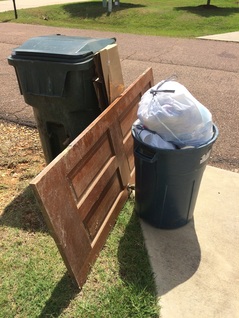
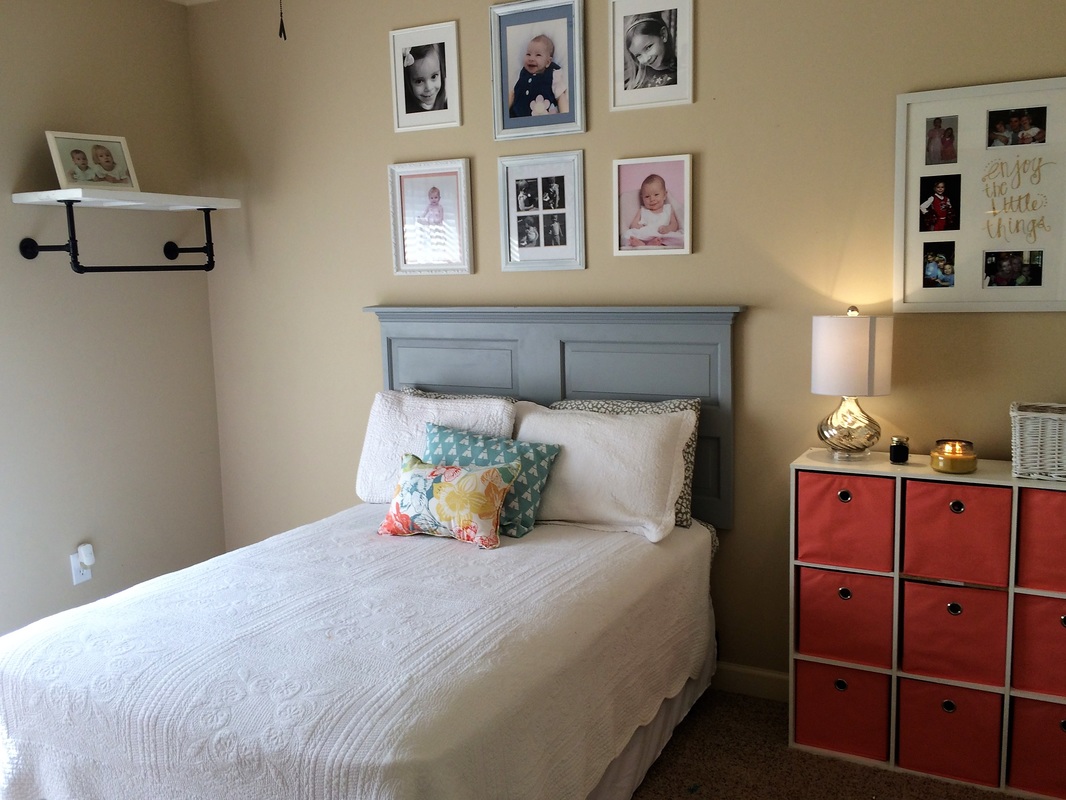
Well, you see my girls are getting older and we coaxed them into giving up their playroom and converting it into a proper guest room. Bingo. Time to turn this old door into something beautiful.
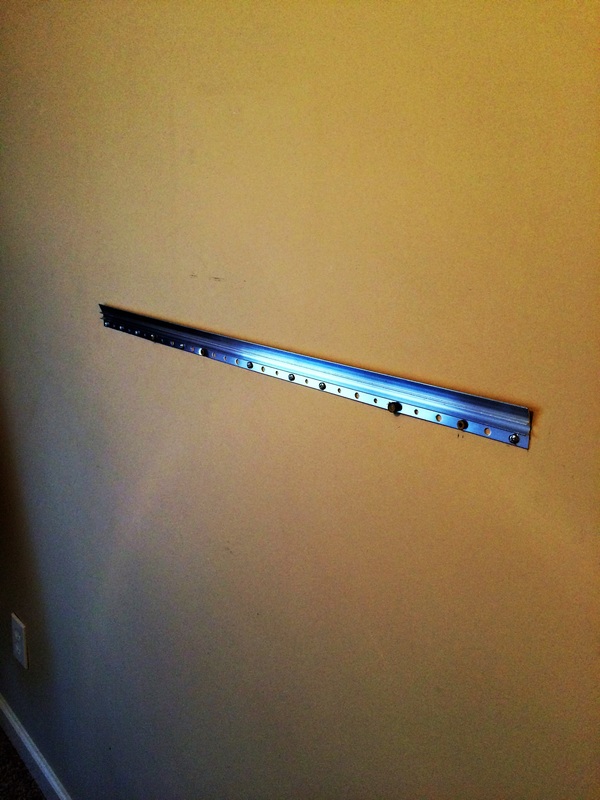
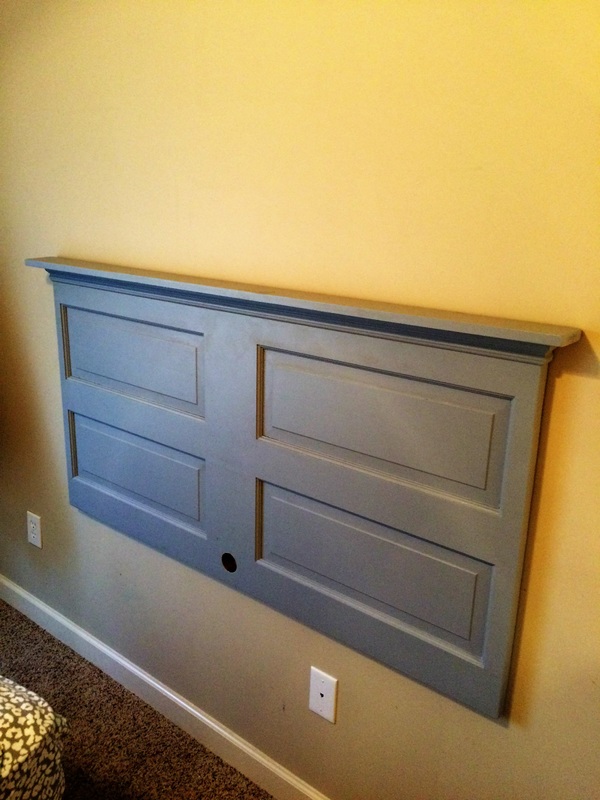
We bought a bed and decided that we’d use the door for the headboard. I measured the new bed and decided to cut the door down to size to fit the bed. This cutoff provided the needed material to build a shelf (below) to finish out the feng shui.
Here's how I did it:
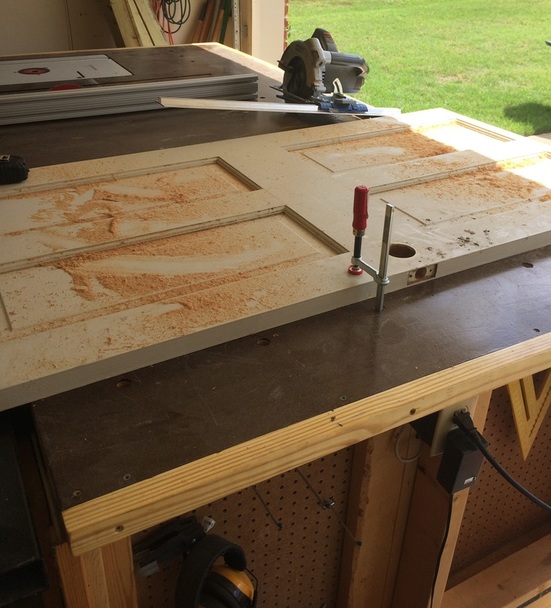
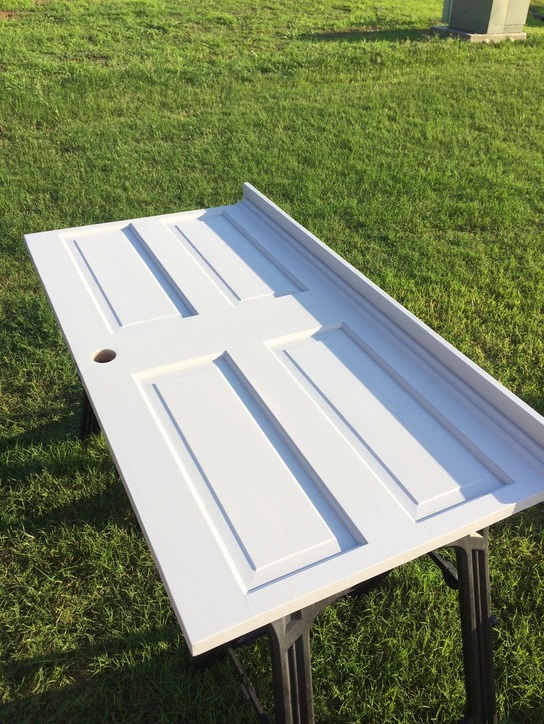
1. Cut door down to size. I chose 56 3/4” for a full size bed. I based this off the size of the bed vs the symmetry of the door panels and tried to center the door knob hole in the middle. I tried to leave equal amounts of spacing on either side of the four panels. The Kreg Rip Cuts jig made cutting the door easy.
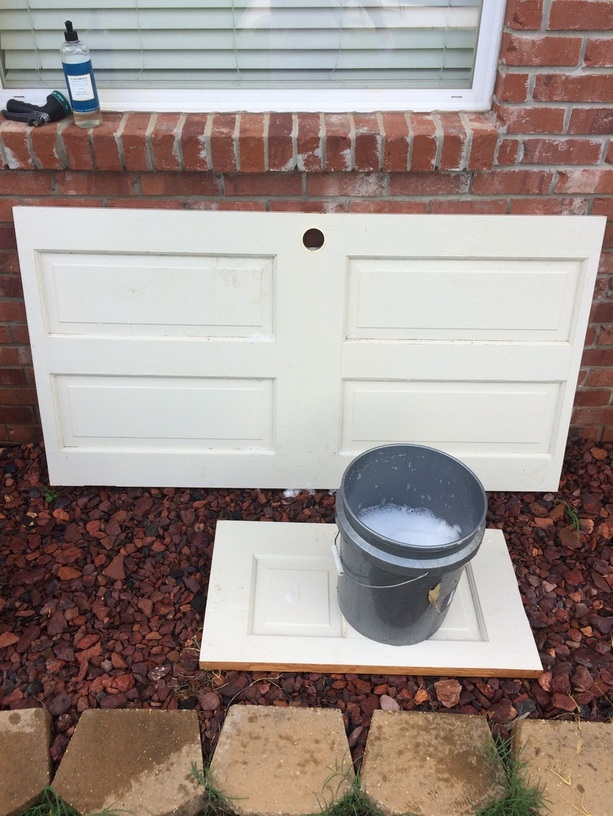
2. Wash the door with soap and water and let it dry.
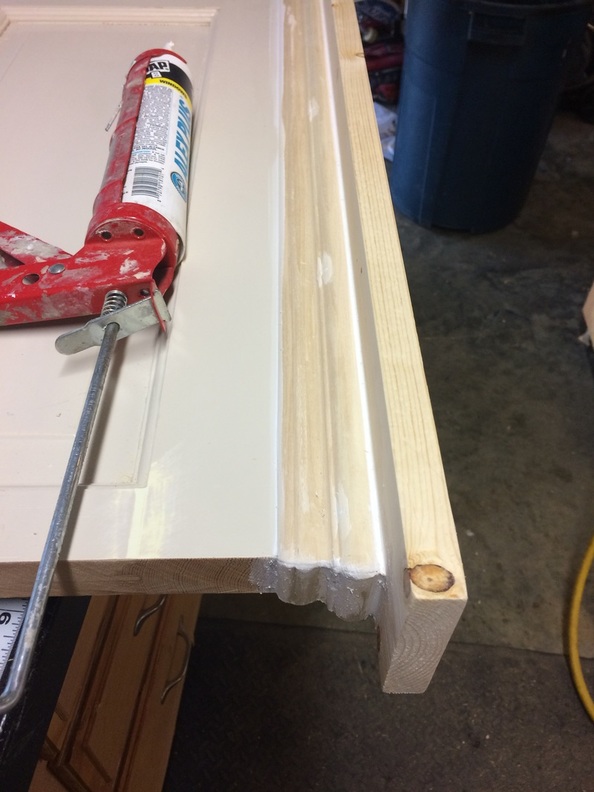
4. Attach molding. Glue and pin nail a piece of trim or chair-rail molding that you like. I bought this piece at the local big box store.
5. Caulk the spaces between the 1x4, trim, and headboard.
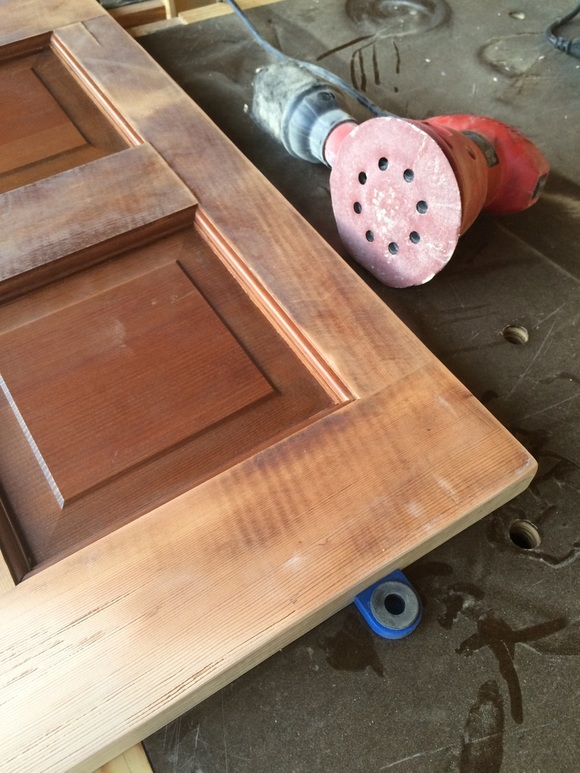
7. Sand everything. I sanded up to 220 grit.
The Shelf...
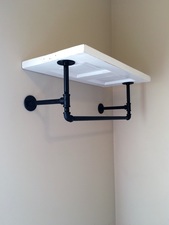
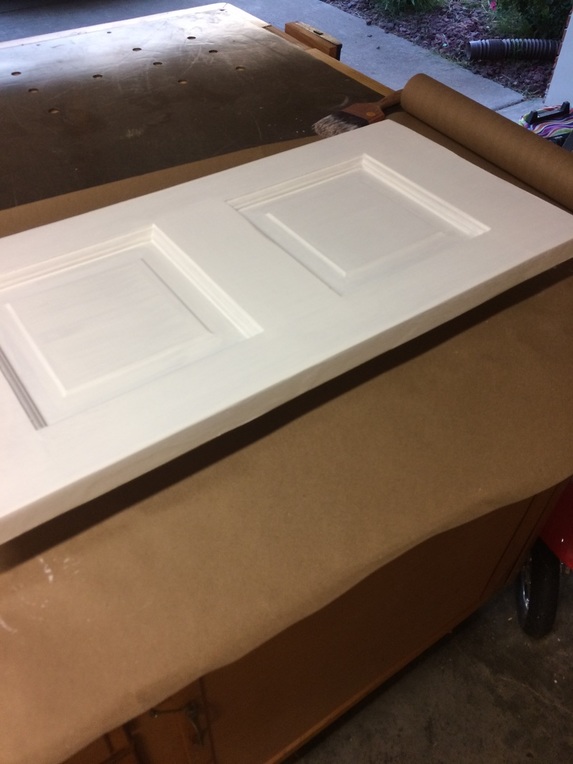
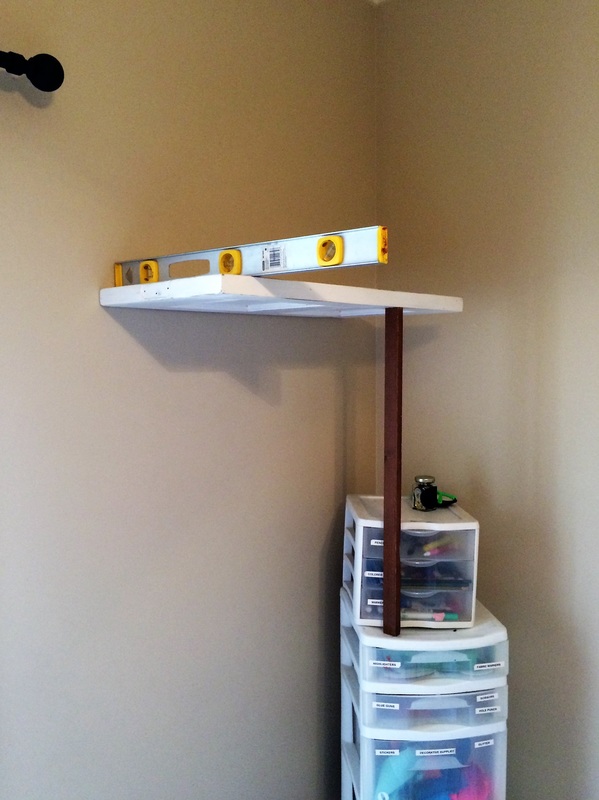
- Cut wood to size. The door I used had two smaller panels at the top and that made for a cool design. It measured 14 ¼” by 29 ¾”.
- Wash with water and soap.
- Sand and prime. Again, I went up to 220 grit.
- Paint color of your choice. I used Valspar Swiss Coffee latex paint. Let it dry. I distressed the corners and some of the edges to make it more rustic looking.
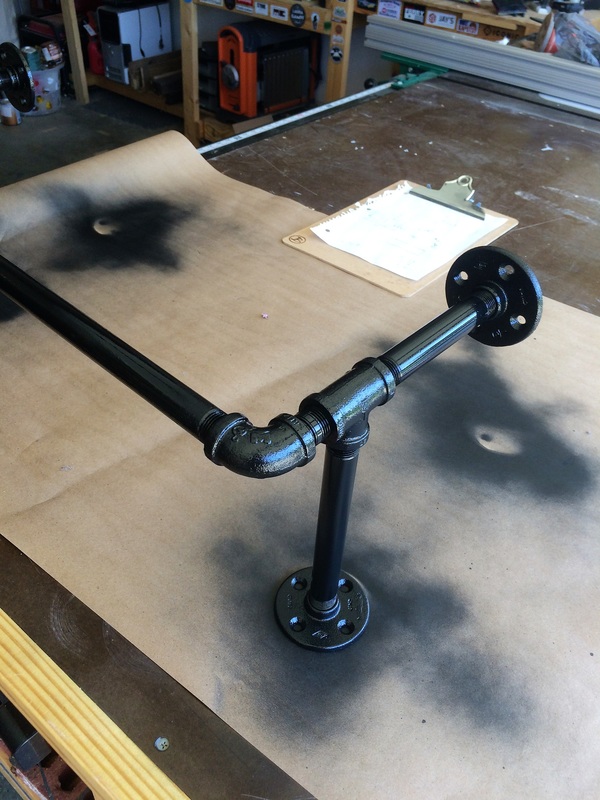
6. Plan your pipe layout and purchase parts. Below is a list of what I used. This is the harder (time consuming) part. I measured to the center of the shelf from the wall and figured I could get close without having to cut the pipes to specific lengths. I went with ½” pipes and fittings because they seemed to be cheaper. I took some time piecing this together in the middle of the isle at the big box store but they didn’t seem to mind.
- 4x ½” floor flange fittings
- 2x ½” 8” pipes (braces from wall)
- 2x ½” 90deg elbows
- 2x ½” Tee fitting
- 2x ½” 5 ½ pipes (vertical braces)
- 2x ½” 1” nipple fittings
- 1x 24” pipe (or as wide as you want shelf)
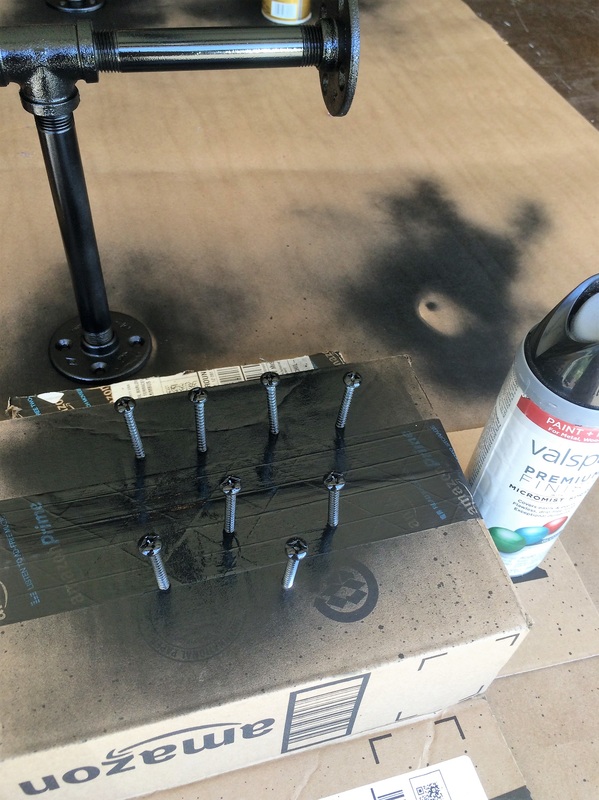
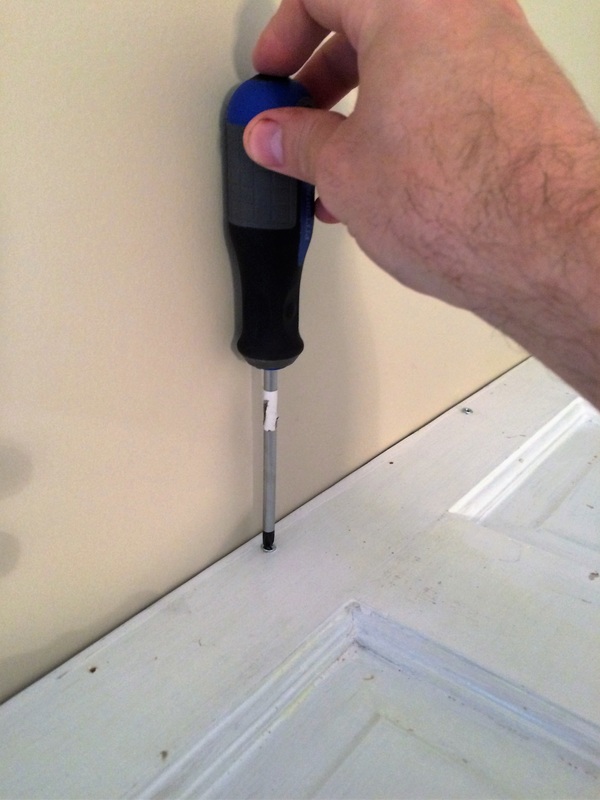
7. Paint pipes/fittings. Because the fittings/pipes weren’t a perfect match, I decided to paint the whole setup with a glossy black spray paint. I also painted the heads of the screws to match the flanges.
10. Sit back, relax and enjoy your hard work.
Thanks for reading and thanks for the support. If you would like updates on future posts, please subscribe in the link in the right column or on my contact page.
Also, be sure and leave a comment or feedback. Let me know what you think.
Take care and God bless,
-jb


 RSS Feed
